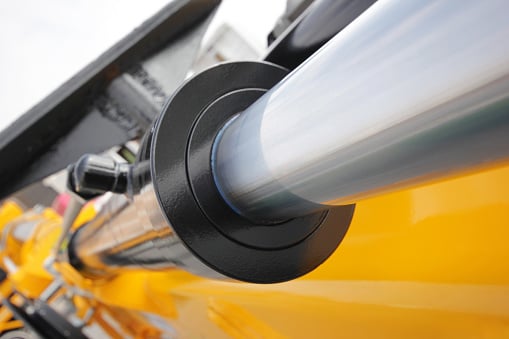
This how-to manual gives an overview of the procedures involved in replacing a hydraulic cylinder, covering preparation work, removing your old cylinder, installing a new hydraulic cylinder, and crucial safety measures.
Preparation work for installing Cabin Tilt Cylinder
The first step in installing your new hydraulic cylinder is to set up a secure area for removal and installation. To prevent contamination of the cylinder components during installation, make sure the environment is clean and dry. After organizing your workspace, carry out the following further preparation activities.
1. Before attaching the hydraulic pipes to the new hydraulic system, grease all of the components and flush them.
2. When lowering the loads, make sure the hydraulic system is not subjected to additional pressure or external pressures.
3. Before starting any maintenance, close the shut-off valve, turn off the hydraulic pump, and let the circuit pressure drop.
SAFETY PRECAUTIONS FOR REPLACING Cabin Tilt Cylinder
Please have the necessary safety gear on hand before starting any hydraulic cylinder work. This gear should consist of safety helmets, boots, gloves, earplugs, and safety glasses or goggles. Additional safety measures consist of:
1. Avoiding touching the hydraulic cylinder with your hands or feet while testing
2. Choosing the right supports to hold and support the hydraulic cylinder
3. Ensuring that the cylinders cannot be started or are not running while being removed and installed.
You could require more blocking to stop movement, depending on your working environment.
Always adhere to the equipment ratings, and never set the relief valve's pressure higher than the equipment's maximum rated pressure.
Taking Out an Old Cabin Tilt Cylinder
Make sure there isn't any stored energy that could be a threat to your safety first. Make sure there is no pressure in the cylinder and that the machine is locked out and immobile during removal. After making sure everything is in order, follow the instructions below to securely remove your hydraulic cylinder.
1. Cover or plug hydraulic ports, hoses, and pipes
2. Take off the cylinder's hydraulic base end and rod end pins.
3. Attach a support to the hydraulic cylinder.
4. Remove the supports for the hydraulic cylinder.
5. Bring the cylinder down.
Setup of New Cabin Tilt Cylinder
Check the cylinder seals, end dampings, and fittings to make sure you have the proper types and sizes before installing your new hydraulic cylinder. Make sure all bearings and pins are properly lubricated after that. Additionally, make sure the hydraulic cylinder connections have the proper sizes and locations.
1. Set the hydraulic cylinder's installation measurement to the pre-check value. Lock the piston rod's eye attachment. Compare the measured value to the installation measure specified in the hydraulic cylinder assembly schematic of the device if you are unsure of the measurement.
2. To imitate the previous hydraulic cylinder, modify the new cylinder's end damping.
3. Verify that the connecting holes for the hydraulic cylinders are oriented correctly.
4. Raising and securing the hydraulic cylinder into position.
5. Tighten the hydraulic cylinder's fasteners.
6. Take out the safety plugs.
7. Secure the hydraulic lines or hoses.
8. Remove the supports and/or the lifting apparatus from the hydraulic cylinder.
Steps to Complete the Installation of Your New Cabin Tilt Cylinder
1. Replace the removed guards in their correct locations.
2. Integrate the system's power sources
3. If test connections are included or readily available, bleed the hydraulic cylinder. Run the cylinder until the movement is smooth and there is no air in the system.
4. Modify the new hydraulic cylinder's end cushion to prevent slamming at the end of the stroke.
5. Verify that adjustments stay in place after testing work cycles.
Contact us for further details on our products and services.

